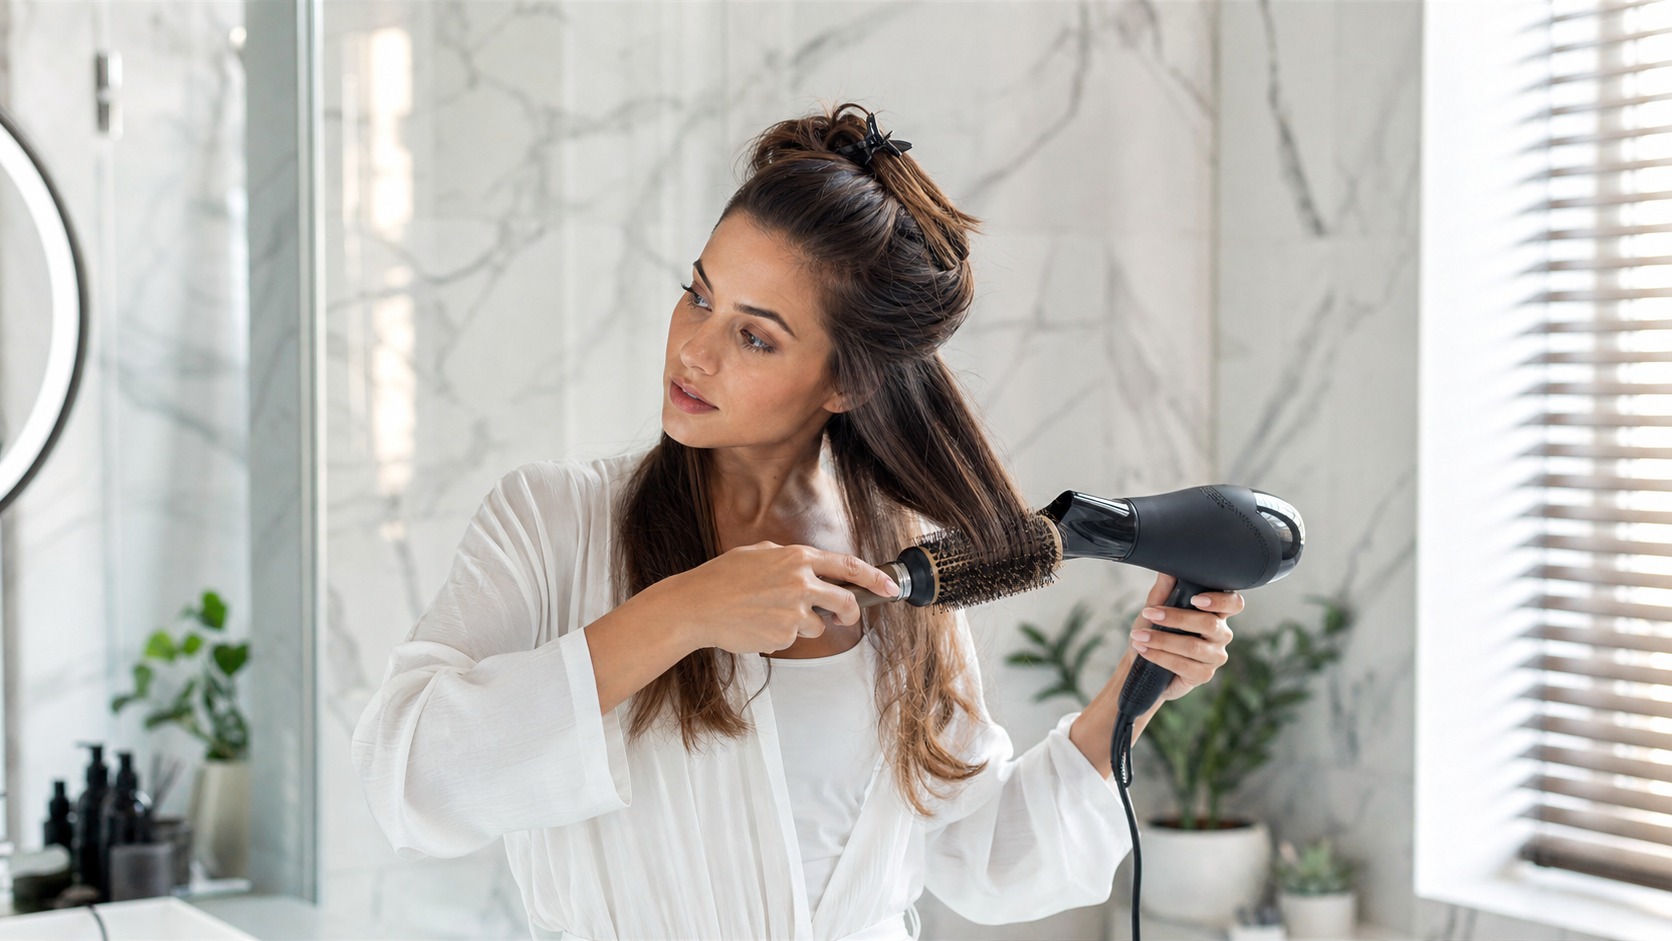
You bought the round brush. You watched the tutorial. You stood in your bathroom for 40 minutes — and walked out looking like your hair just air-dried anyway.
Most home blowout failures are not technique failures. They are tool failures. Specifically: the wrong dryer, the wrong brush, or both. This guide covers what actually separates a $50 dryer from a $250 one, which products hold up to their claims, and the exact method professional stylists follow every time.
What Separates a Professional Hair Dryer from a Drugstore One
The marketing language on hair dryers is nearly identical across all price points. Ionic. Ceramic. Frizz-free. None of that tells you what you are actually buying. The real differences come down to three things: motor type, heat technology, and weight.
Motor Type: AC vs. DC
Consumer hair dryers run DC motors. They are inexpensive, reasonably light, and fine for casual drying. Professional dryers use AC motors — engineered to run for hours without heat degradation, with consistent airflow output over a full session.
The difference shows up in two practical ways. AC motors maintain steady airspeed across a 40-minute blowout; DC motors often throttle under sustained use. AC motors are louder but more powerful at equivalent wattage ratings.
The Dyson Supersonic HD15 ($430) sidesteps the AC/DC comparison entirely with a proprietary digital motor spinning at 110,000 RPM. It generates high airflow at lower wattage through engineering rather than raw power. The BaBylissPRO Nano Titanium BHHIN ($85) uses a traditional AC motor and matches or outperforms most digital motors for coarse, thick hair.
US household outlets cap at 1875W. That is why you see that number on every dryer sold here. The wattage number matters less than the motor quality delivering it consistently.
Ionic, Ceramic, and Tourmaline: What Is Real vs. What Is Not
Three terms appear on nearly every dryer at every price point. Here is what they actually mean:
- Ionic technology: Releases negative ions that break water molecules apart faster. Reduces drying time and surface frizz. This is a real, measurable effect — not marketing noise.
- Ceramic: A coating on the heating element that distributes heat more evenly and reduces hot spots. Also real, and particularly relevant for preventing damage to fine or color-treated hair.
- Tourmaline: A gemstone added to some grills and heating elements that emits negative ions when heated. The ionic benefit is genuine. Whether tourmaline is meaningfully better than other ionic sources is where the marketing fuzziness begins.
The T3 Cura LUXE ($250) pairs its ionic system with a digital temperature sensor that actively prevents heat spikes — the actual mechanism behind heat damage. The BaBylissPRO’s titanium-infused components reach working temperature fast and hold it without significant fluctuation. Both deliver real performance. The cheap versions making the same claims do not.
Weight: The Spec That Decides Whether You Use It
A proper blowout runs 25 to 45 minutes. Your arm will fail before your hair dries if the dryer is too heavy.
The Dyson Supersonic HD15 weighs 1.8 lbs — and the motor sits in the handle, which improves balance significantly. The Shark HyperAir IQ ($230) weighs 1.5 lbs. The GHD Helios ($260) comes in at 1.7 lbs. Standard drugstore models land between 1.9 and 2.5 lbs. The gap sounds small. After holding a dryer overhead while working root volume for 15 minutes, it is not small at all.
For anyone doing full-head sectioned blowouts regularly, weight is a functional spec, not a luxury one.
Five Hair Dryers That Actually Deliver Salon Results
There is no single best dryer. There is a best dryer for your hair type and your budget. Here is a direct comparison of the models worth considering right now.
| Dryer | Price | Wattage | Motor | Weight | Best For |
|---|---|---|---|---|---|
| BaBylissPRO Nano Titanium BHHIN | $85 | 1875W | AC | 1.9 lbs | Thick, coarse hair |
| Revlon One-Step Volumizer Plus | $50 | 1100W | DC | 1.4 lbs | Short, fine hair; quick styling |
| T3 Cura LUXE | $250 | 1875W | AC | 1.9 lbs | Color-treated, frizz-prone hair |
| Shark HyperAir IQ | $230 | 1600W | High-speed DC | 1.5 lbs | Medium hair; speed + volume |
| Dyson Supersonic HD15 | $430 | 1600W | Digital, 110k RPM | 1.8 lbs | Fine hair; heat sensitivity |
Best Under $100: BaBylissPRO Nano Titanium BHHIN
This is the dryer most working stylists reach for when they want real results without a premium price tag. The AC motor produces consistent, powerful airflow that handles thick and coarse hair without slowing down mid-session. The titanium components reach working temperature fast and hold it. The included concentrator nozzle is narrow — which is exactly what you want for precision section-by-section work.
It is louder than the Dyson or Shark, and the handle ergonomics are not exceptional. For results per dollar on medium-to-thick hair, nothing at this price comes close.
Best $200+: T3 Cura LUXE for Damaged Hair, Dyson Supersonic HD15 for Fine Hair
These are different tools solving different problems. The T3 Cura LUXE wins for color-treated, fine, or damaged hair — its temperature regulation prevents the heat spikes that cause protein loss and breakage. The Dyson Supersonic HD15 is the stronger choice for very fine hair or anyone prone to thermal damage; its 40-measurements-per-second temperature monitoring is genuinely different from a dryer that simply offers a low/medium/high dial. Both justify their price for regular use. Neither is necessary for thick, resilient hair that tolerates heat without much consequence.
Choosing the Right Brush for Your Hair Type
The dryer moves the air. The brush does the actual styling. Buy the right dryer and pair it with the wrong brush, and the blowout still falls flat.
Barrel Size Determines the Finished Shape
Brush diameter controls what the blowout looks like. Smaller barrel (1 inch) creates more curl and definition. Larger barrel (2 to 2.5 inches) creates volume and smoothness with a gentle bend at the ends. For a classic salon blowout on medium to long hair — smooth, bouncy, ends turning under — use a 1.75-inch to 2.25-inch barrel. Shorter hair (above the shoulder) works better with a 1-inch to 1.5-inch barrel for more directional control.
Match Bristle Type to Hair Type
- Fine hair: Olivia Garden Ceramic + Ion Round Brush ($22–$30). The ceramic barrel prevents hot spots. Lightweight bristles do not pull or stress fine strands. Use the 1.75-inch size for shoulder-length hair.
- Medium, normal hair: Ibiza Hair G4 Round Brush ($45). Boar bristle grips and smooths simultaneously — the combination that builds shine while shaping. Worth the price for regular use.
- Thick or coarse hair: Mason Pearson BN1 Popular Mix ($225) is the best available, or Bass Brushes Style and Curl ($35) as a reliable budget substitute. Mixed boar and nylon bristles handle volume without snagging.
- Curly hair attempting a stretch blowout: Felicia Leatherwood Detangler Brush ($30) to section and separate before applying heat, then a large ceramic barrel for the actual dry. Skip the detangling step and you will fight the brush the entire session.
- Short hair: Fromm Salon Essentials 1.5-inch round brush ($15). Straightforward, effective, no need to spend more.
One rule across all hair types: avoid fully synthetic bristles. They generate static, static generates frizz, and frizz defeats the entire point. Mixed or natural bristle brushes cost slightly more and produce noticeably better results every time.
What Salon Stylists Do Differently That Makes the Blowout Hold
Here is the uncomfortable truth: most failed home blowouts are technique failures, not equipment failures. The right dryer helps. It does not compensate for skipping these two steps.
They Section the Hair Before Starting — Every Single Time
Professional stylists divide hair into four to six sections using clips before the dryer comes on. They dry one section completely — from damp to fully dry and cooled — before releasing the clip and moving to the next. That is the entire discipline.
At home, most people rough-dry the whole head loosely, then try to finish with a round brush while sections underneath are still damp. The surface looks dry. The underlying hair is not. Within 90 minutes, the retained moisture redistributes as the hair cools, and the blowout collapses. Sectioning is not optional — it is the reason salon blowouts last two to three days and home ones barely last through lunch.
Clip everything up. Start at the nape. Work in 1.5-inch sections. Do not move to the next section until the current one is done and has had 10 seconds to cool. Basic sectioning clips from any drugstore work fine.
Nozzle Angle and Distance From the Hair
The concentrator nozzle should point downward along the hair shaft — not perpendicular to it. Pointing the nozzle directly at a section ruffles the cuticle and creates frizz. Directing airflow from root to tip, angled downward, smooths the cuticle and produces the gloss that makes a blowout look finished.
Keep the nozzle 2 to 3 inches from the brush and hair. Closer than 2 inches concentrates too much heat in one spot. The dryer should always be moving — never stationary on one section for more than 3 to 4 seconds at high heat.
Common Blowout Problems and What Actually Causes Them
Why Does My Hair Frizz Right After I Finish?
Two causes. First: you dried sections before adjacent sections were fully done, and the residual moisture redistributed as everything cooled. Second — and this is the one most people skip — you did not use the cool shot. Finish every section with 10 to 15 seconds of cool air from the dryer’s cool shot button. This closes the cuticle and locks the style in place. Without it, the cuticle stays open, and the first ambient humidity you walk into undoes everything.
Why Does My Volume Collapse After an Hour?
You are not drying against tension. To build root volume, place the round brush under the hair at the root, roll upward, and direct airflow from below the brush — not from above. After the heat passes through, hold the brush rolled at the root for 5 to 8 seconds while the hair cools in that position. Hair must cool while stretched to hold the shape. Pull the brush out while the hair is still warm, and the volume will not set.
Also: start with hair that is already 70 to 80 percent dry from rough-drying. Attempting a precision blowout on soaking wet hair gives you far less control and takes significantly longer.
How Do I Know If I Am Actually Damaging My Hair?
Use a heat protectant on damp hair before every session without exception. The Kenra Platinum Silkening Mist ($26) is lightweight enough for fine hair and does not weigh it down. The Olaplex No.9 Bond Protector ($30) provides structural protection for chemically processed or previously damaged hair. Apply to damp hair before rough-drying begins. Signs of compounding heat damage: hair that looks dull, snaps more easily than it should, or will not hold a style regardless of how careful your technique is. If you are seeing those signs, drop to medium heat and reduce blowout frequency until the hair recovers.
When a $50 Dryer Is Completely Fine
If your hair is fine, short (above the shoulder), or you are doing a quick rough-dry rather than a full sectioned blowout, the Revlon One-Step Volumizer Plus at $50 handles it. Do not spend $250 on a dryer you use for eight minutes twice a week on a pixie cut. The tool should match the task.
The Exact Blowout Sequence That Produces Consistent Results
This is the order of operations professional stylists follow. Each step creates the conditions for the one that follows it.
Prep: Before the Dryer Touches Your Hair
- Squeeze dry with a microfiber towel — do not rub. Rubbing generates friction that lifts the cuticle before you have even started.
- Apply heat protectant evenly through damp hair from mid-shaft to ends. Fine hair: Kenra Platinum Silkening Mist. Damaged or processed hair: Olaplex No.9 Bond Protector.
- Rough-dry on medium heat with no brush until hair is 70 to 80 percent dry. On medium-length hair this takes about 5 minutes. Do not attempt a blowout on soaking wet hair.
- Section into 4 to 6 parts. Clip everything up. Start at the nape.
The Drying Sequence
- Take a 1.5-inch section from the nape. Place the round brush underneath at the root.
- Set dryer to high heat, high speed. Hold the concentrator nozzle 2 to 3 inches away, angled downward along the hair shaft.
- Roll the brush slowly from root to tip over 6 to 8 seconds while following with the dryer. That is one pass. Repeat once or twice until that section is completely dry.
- For root volume: roll the brush upward at the root, direct heat from below, hold for 5 to 8 seconds. Then cool shot for 10 seconds before releasing. Do not skip the cool shot.
- Confirm each section is fully dry and cooled before moving to the next. No exceptions, no shortcuts.
- Work from the nape upward, then the sides, then the crown last.
The Finishing Step That Locks Everything In
Once all sections are complete, switch to cool air only and do one final pass through the entire head. This is what creates the gloss and hold you see in salon results. Without it, heat stays in the hair shaft and the style loosens unevenly as it cools on its own.
Finish with a light-hold spray if needed — the Oribe Superfine Hair Spray ($46) for minimal texture, or the Kenra Platinum Silkening Mist again as a shine finisher. Heavy hairspray at the end of a blowout creates stiffness, not style. Use it sparingly or skip it.
For most people: the BaBylissPRO Nano Titanium BHHIN at $85 paired with an Ibiza Hair or Olivia Garden round brush covers 80 percent of use cases at a fraction of the premium price. Fine or heat-sensitive hair warrants stepping up to the T3 Cura LUXE or Dyson Supersonic HD15. The technique stays identical either way — and the technique is what actually makes the blowout last.